[ad_1]

Defeat the Hypercube Anomaly boss in the ‘Beyond’ mission easy mode on a budget of only 62 attribute points and 21 skill points. ‘Untouchable’ can also be used for achievements (defeat the boss without taking any damage).
Introduction
This guide provides a specific character build to comfortably defeat the Hypercube boss in the Beyond mission that should be available at the level one would have while playing to this point in the story. Remember that you can honor your character’s skill and attribute points at the cloning facility, so there’s no need to grind for more stat points. If you’re good at the game, it’s definitely possible to beat him with less gear.
The two main classes to spec are the Pilot for extra dodges and movement speed and a large hit point pool, the Medic for healing, and the FTU Biochemical Rocket Launcher weapon which is one of the best weapons in the game.
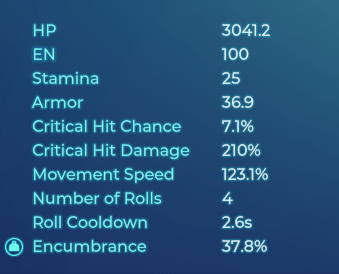
Attributes

For character traits, 30 points in Pilot (+2 for dodge rolls), 25 points in Medical, and 10 in Science.
talent
The pilot
- attack attack
- Mini Gun Drone
- Wingman
- related to health
medical
- First aid
- Bandage Stash
- Neurotoxin
- spewing poison
science
- tear gas
- Countermeasures
- Distortion field
Equip skills
- attack attack
- First aid
- Wingman
- spewing poison

Gear
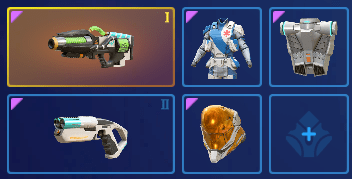
If you don’t want to grind the material, the only must-have item is the Biochemical Rocket Launcher. All other gear makes the fight much easier.
weapon
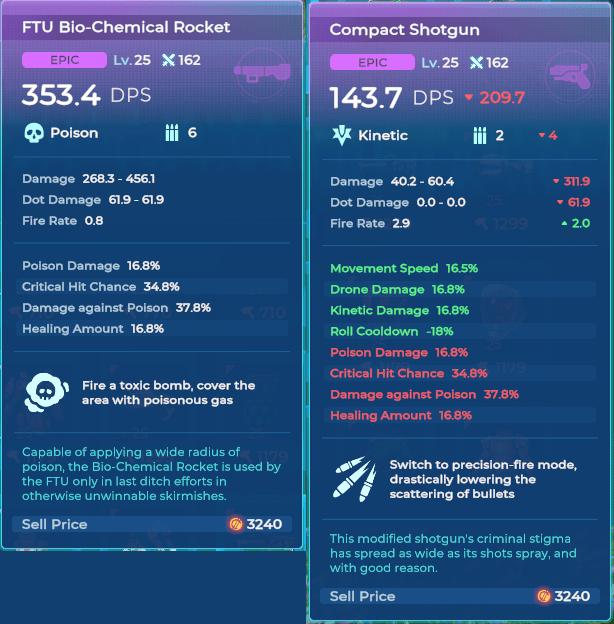
The FTU Biochemical Rocket Launcher is one of the top DPS weapons and should make quick work of any anomalies in the boss’s path. It does not require the user to be stationary and can deal a lot of damage over time, allowing the player to focus on dodging all of the boss’s attacks.
For a secondary weapon, consider a compact shotgun. While not very strong on its own, it does provide a passive movement speed, roll cooldown and drone damage boost, so equip it as a stat stick in the secondary slot if you have it.
Armor
- Medic Chest (for high base hit points and passive HP regeneration)
- Pilot Helm (for roll cooldown)
- Pilot Bag (+1 roll and more for roll cooldown)
The fight
Getting there
The path to the boss should be a breeze, just dodging the anomalies with poison grenades and fixing most of their equipment. The large group on the turret is easily dispatched after Ignite Poison by running a circle around the turret, bringing their entire pack back to the bridge, and then dropping a secondary fire grenade.
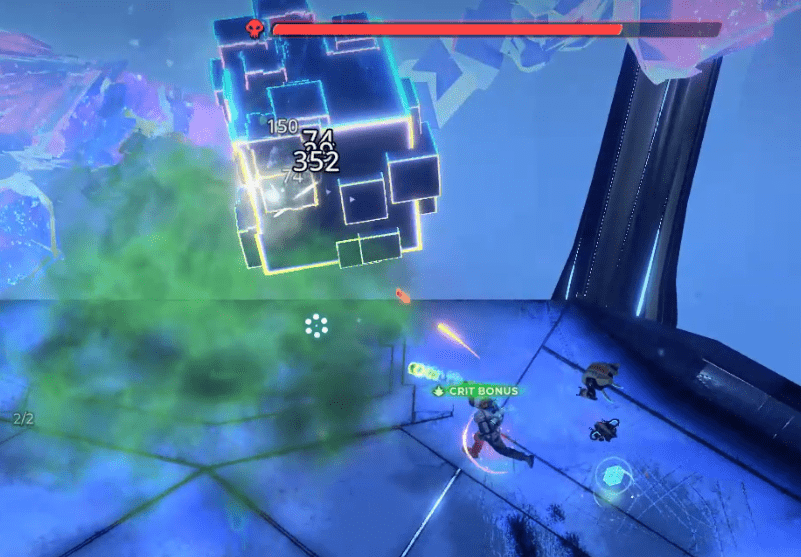
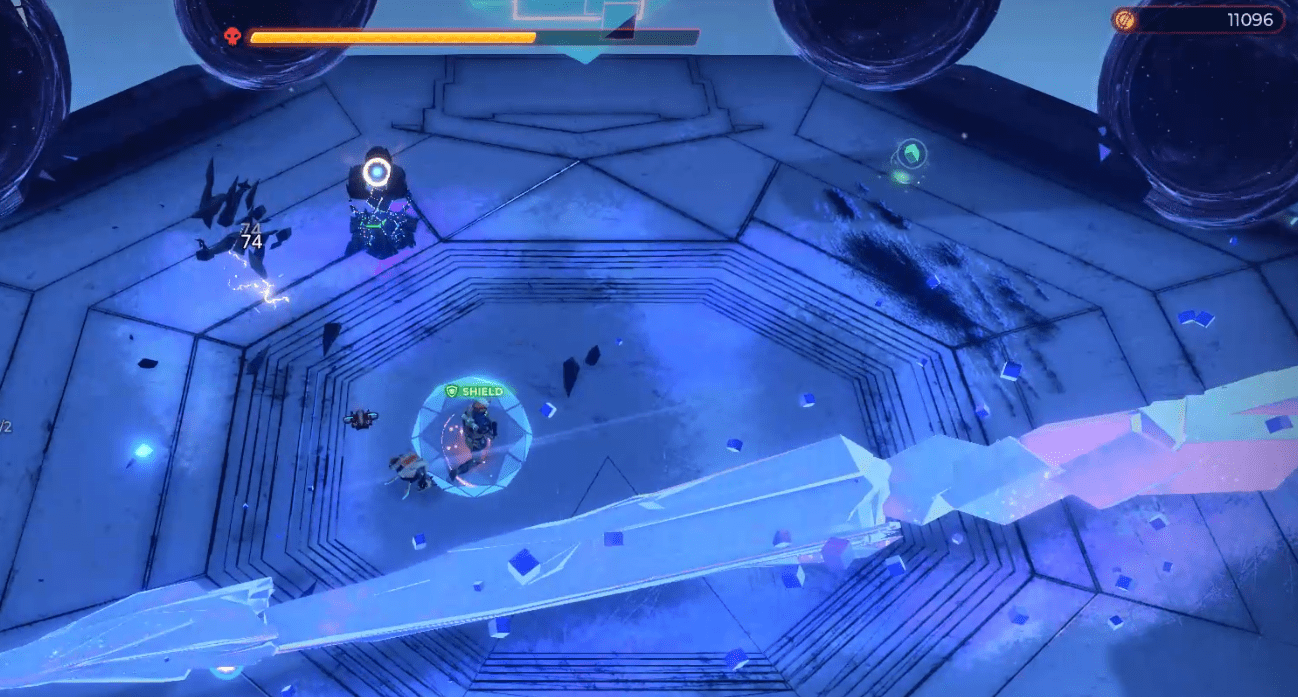
Boss Phase 1
The boss alternates between a vulnerable (red health bar) and an invincible (yellow health bar) state, based on whether or not the boss has a turret.

If there are any turrets, destroy them all to weaken the boss again.
When the boss is weak, start off by unleashing a secondary Fire Grenade attack on him, for plenty of damage over time. For extra damage, use the Ignite Poison Skill.
The boss performs the following attacks:
- Spawnbridge (which shoots at every single player and makes the boss invulnerable)
- Arm swipe, indicated by red >>> and <<< in the middle of the stage. Bass swipes the arm forward and backward. These attacks are unavoidable and must be blocked or mitigated with a shield (eg Wingman skill).
- Pillar Attack, the boss summons a pillar to pierce through the ground, the ground will briefly become transparent to see this happening. The pillar then explodes from the ground and scatters crystal shards in 6 directions. Simply move and avoid the red wires on the floor to avoid damage entirely.
- Summon Portals, the boss throws small crystals in the center of the stage that fly outwards and open portals. The boss’s claws then quickly burst through the portal, stunning the player if they hit. They can be difficult to dodge and telegraph time is very short, keep moving and have your charge attack skills ready to avoid them.
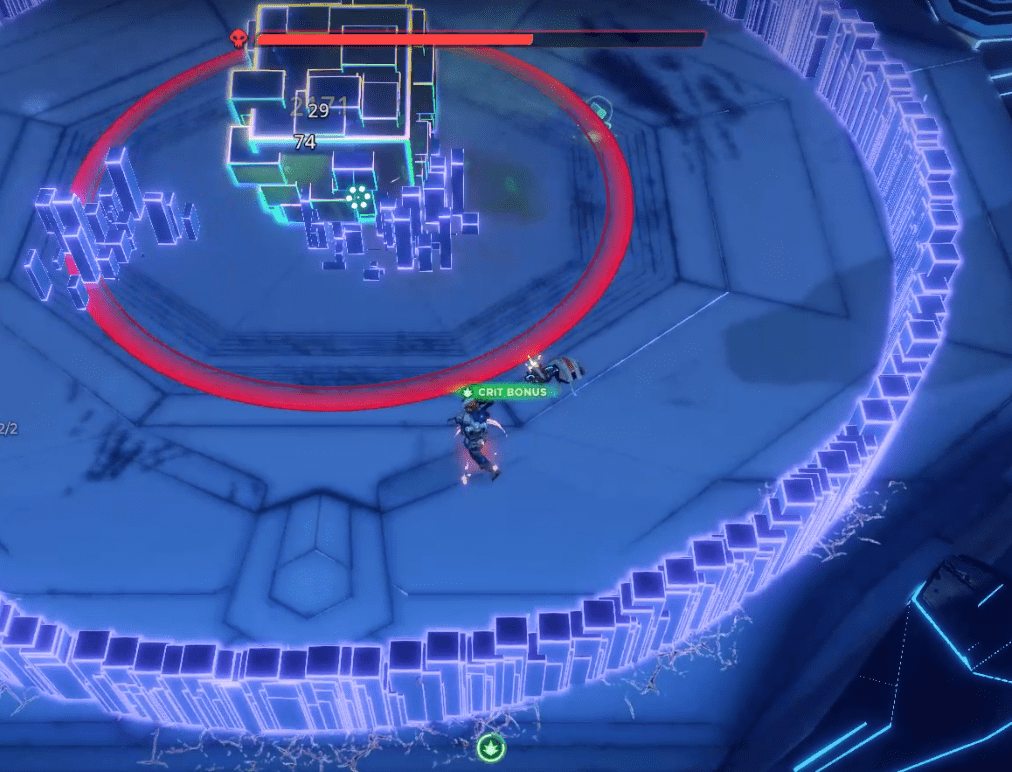
Boss Phase 2
The boss is vulnerable during this stage, so just keep peppering the middle of the stage with grenades and use the secondary fire and ignite poison skills whenever possible while avoiding the attacks.
The boss performs the following attacks:
- Passive arm damage, the arms circle around the boss and deal damage and stagger the player on contact.
- Small AOE Cubes The boss spawns small AOEs that are telegraphed by a small red circle. Avoid the small red circles.
- Shockwave Smash, the boss jumps into the air and hits the ground, creating periodic circular AOEs that radiate outward. These seem to target the player’s position so it is often necessary to move through them towards the center.
- Piercing Stabs, the arms retract into the cube and pierce the player outwards. These attacks are easily deflected, just keep going in circles around the boss.
- Circular Swipe A circular telegraph appears around the boss with arrows, indicating which direction the arm will rotate. It’s best to avoid using two timely dodges, but it can also be avoided by staying close to the center where the arm starts and moving slightly in the direction they’re moving again. Back off.
Untouchable success
This achievement requires the player to kill the boss without taking damage.
Extra points in piloting are recommended for even more dodges, as are clone vessels for quick retries from the cloning facility.
Unfortunately it’s not possible to replay the boss after defeating it, but the last 3 save games are stored in AppData\LocalLow\NetEase\Cygnus\Saves so backing them up and reloading them manually is a good idea. May be helpful.
[ad_2]