[ad_1]
Screenshot from MyFullGames
Terra Nil ecological world simulator puts you in the heart of a huge terraforming project. Use machines to reintroduce life to a dead world, then destroy them once you’ve reintroduced enough wildlife and animals for it to sustain itself once more. The starting temperate region can be quite challenging, but the next tropical region adds several new challenges. If you run into some trouble, read on for our tour of the tropical region of Terra Nil.
How to complete the Tropical Region of Desolate Island in Terra Nil
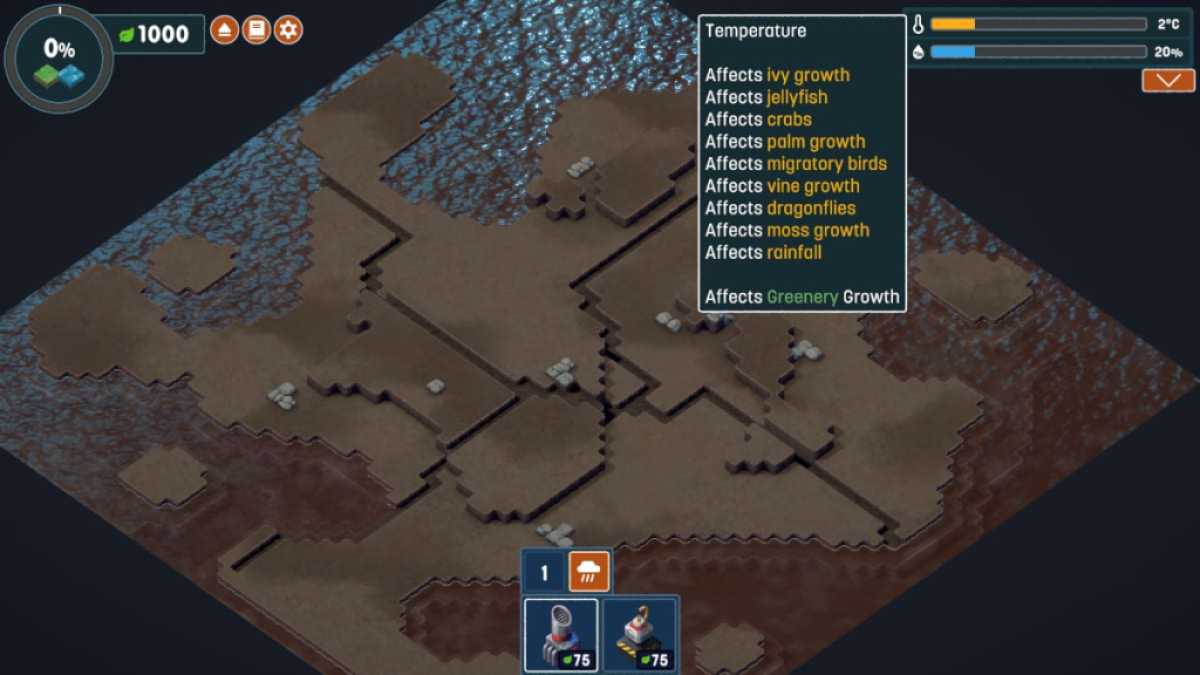
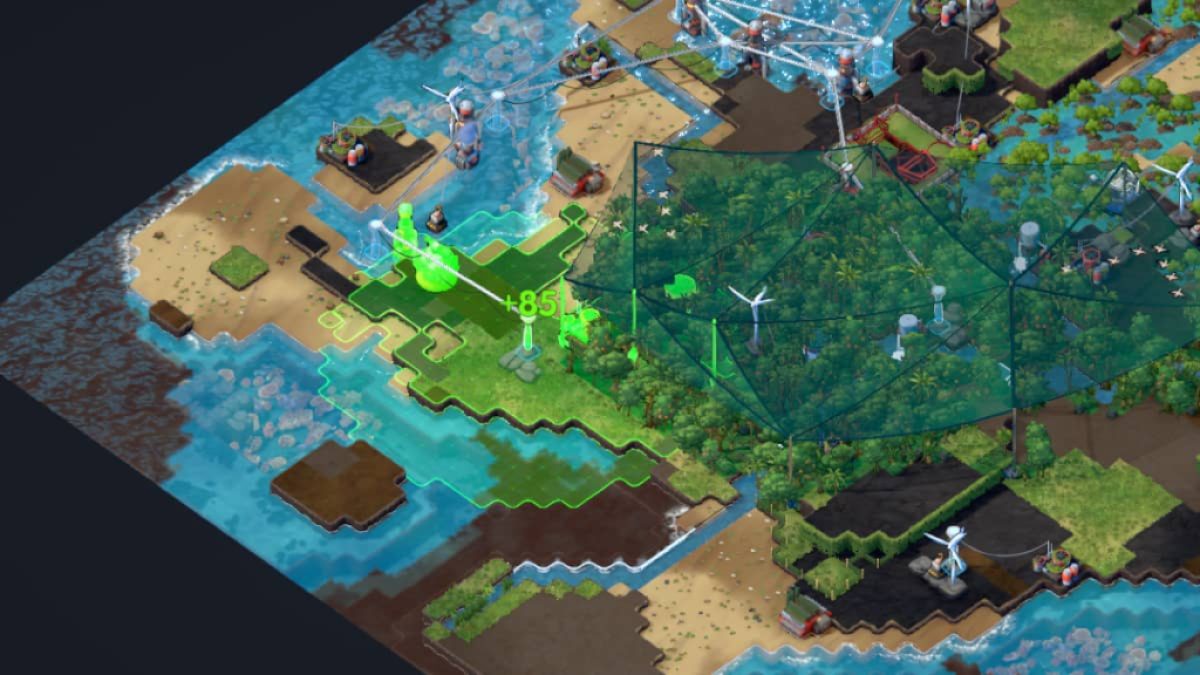
Before you start, take a look at the top right of the screen where you will see the temperature and humidity indicators. You also start with the machines (the cloud seeder and combustor) which can affect both stats. Finally, please note that your Irrigator has a new indicator, which is currently in the Good zone. If you can get the u temperature of Good on the solid green Ideal area, you will earn additional income by creating green areas.
Related: Best Tips and Tricks for Terra Nil Beginners
Of all the optional climate objectives, the one that really makes the difference is thunderstorms begin. Once you hear the rumble of thunder and the rain starts to fall, Wilderness the tiles will slowly turn into vegetation and polluted ocean Spaces will be cleaned. This, of course, makes life a lot easier, so if you’re close to turning this on at some point, it’s worth doing your best to do so.
How to achieve 100% greenery and clean water
The first thing to keep in mind is that clean water is just as important to reaching your initial goal as vegetation, so don’t be embarrassed to place Toxin Scrubbers next to the water You’ll need a lot of clean water for the biome and animal stages, plus cleaning it gives you some income, so it’s a win-win. Beyond this, your goal is similar to that of the temperate region, just harder to get a good value out of your irrigators due to the large expanses of water. You may want to read before the animal section particularly now, as some of the habitats can be quite tricky to create if you haven’t planned for them at this early stage.
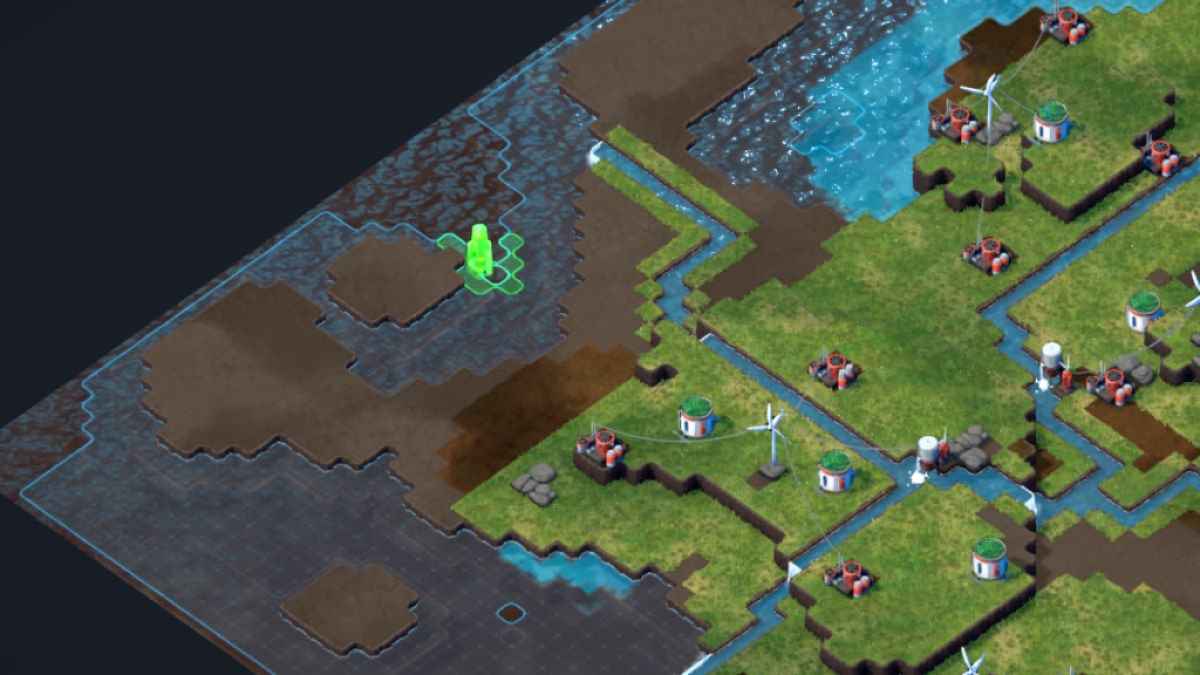
His watchword here is efficiency. Place a turbine, add a Water Pump if necessary, fit enough toxin scrubbers and irrigators to get your turbine to break even. Then make your next turbine, hopefully complementing the previous one and expanding across the map. remember the mineralizer It can be very useful in this region, allowing you to make rocks in remote areas of the map that you may not have realized you can reach, and then add a turbine there.
How to create a tropical forest

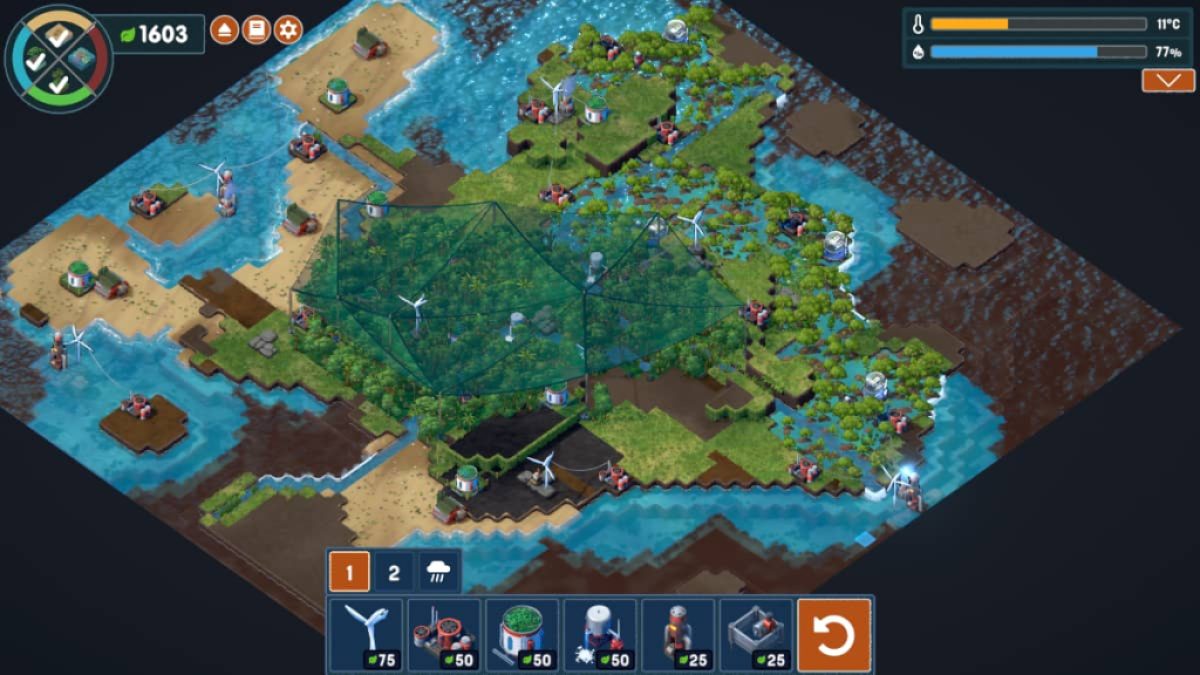
This is where things start to get complicated. Have four biomes to create, and if you have not yet done anything to increase the temperature or humidity, several of them are currently impossible. Use a cloud seeder to increase the humidity enough for you to start laying Shadow Cloth Pillars. These pillars must be anchored to the cliffs, so they are usually the most difficult biome to reach the target without affecting much else. Once they’re done, you can leave them alone.
Related: How to Unlock Minecraft Rocks! achievement in Terra Nil
You might want to use some Cloyd Seeders to push the good producing Shadecloth Pillars up to Ideal. This shouldn’t cost much, doesn’t hurt, and should be easily paid for. Pillar placement takes a bit of practice, but it’s all about triangles. Only remember each pillar can be part of several trianglescreating much greater coverage.
How to create beeches and mangroves
Your best bet here is to compare the best places to hydroponics versus litarios, as both will remove vegetation while covering irrigators and toxin scrubbers, respectively. For example, selecting Littarium will highlight all the possible Toxin Scrubbers they can be placed in. Make a mental note of how effective they will be, then do the same for hydroponics in irrigators.
It should be fine for finances, since both buildings are profitable. So you can build more if you need to, making these biome targets pretty arbitrary. You may also want to consider the animal habitats below. So just add Salinizers to create the mangroves until you reach your goal, adding more irrigators and toxin scrubbers if necessary.
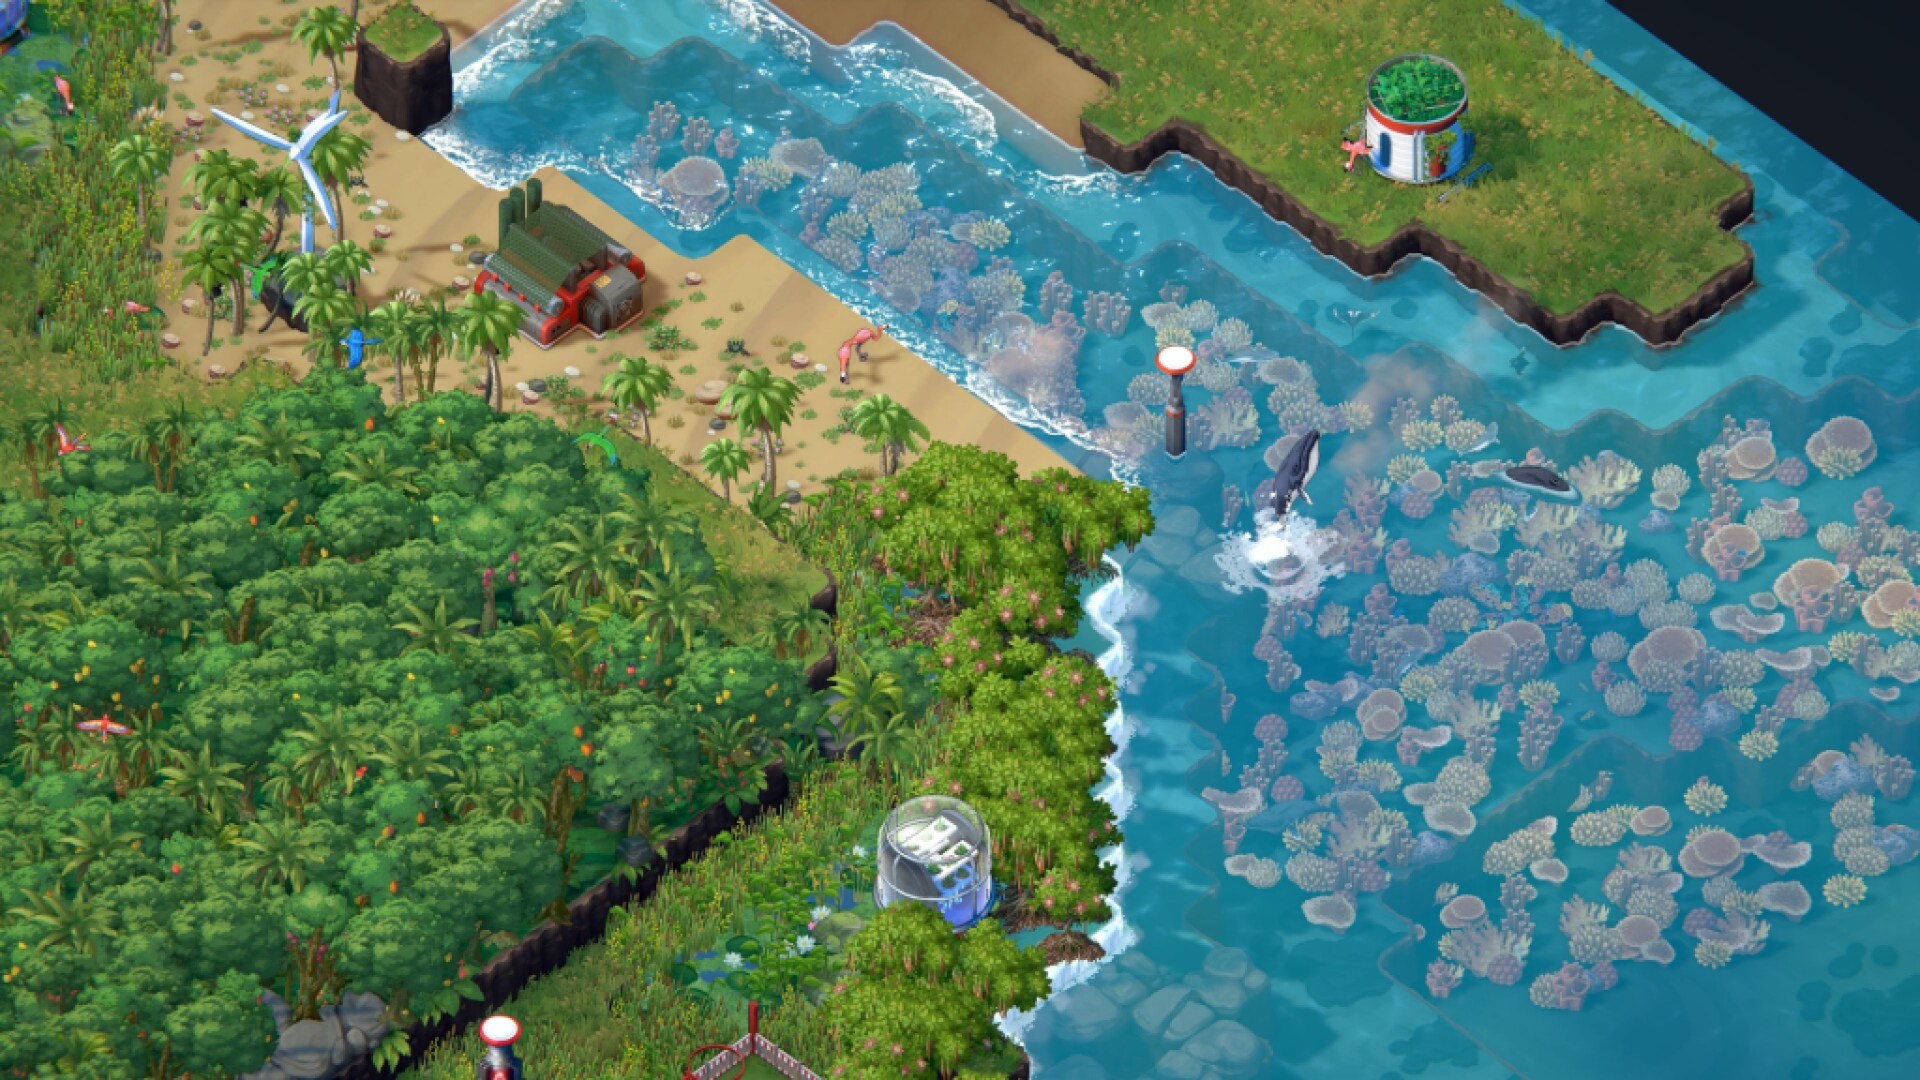
How to create a coral reef
With the other biomes complete, you can focus on building the monorail network you need to create Coral Reef. If you still need to increase the temperature in order to use the Coral Lab, be careful not to damage any of the other biomes you’ve created. It won’t stop you from completing the game, but it could result in some annoying recoil.
Once the temperature reaches 18 degrees, you can start creating coral labs. These are built back on top of irrigators, so you may need to create some new ones to reach your biome goal. You will also probably need to use mineralizers to create more rock because you need it for the placement of monorail nodes. You will also want to place these nodes to create a complete networkinstead of just making routes to the sea to place the coral, as it will I need this network to recycle later.
How to populate the Tropical Region with animals
If you’re happy reaching the three types of animals required to complete the Tropical Region, there are some pretty easy options:
- Parrot: Simply requires 20+ Tropical Forest tiles, but no buildings. This is easy to complete once you start recycling, but make sure you don’t need to change the landscape any further (for other animal habitats below) before doing so!
- Tortoise: A small island with more than 10 beach tiles.
- Flemish: 10+ beach tiles with 10+ wetland tiles. You may need to design this out if you have converted all of your wetlands to mangroves.
- Whale: More than 20 ocean tiles, more than 10 of them deep, with no land. Polluted Ocean tokens will not count, but creating thunderstorms will fix this.
- Stingray: 8+ ocean tiles, 6+ coral reefs and 3+ river tiles. These don’t have to be connected, just all within a scan range.
- reef shark: 16+ coral reefs, 4+ mangroves, and the temperature at 20+ degrees.
How to recycle all your machines and complete the Tropical Region
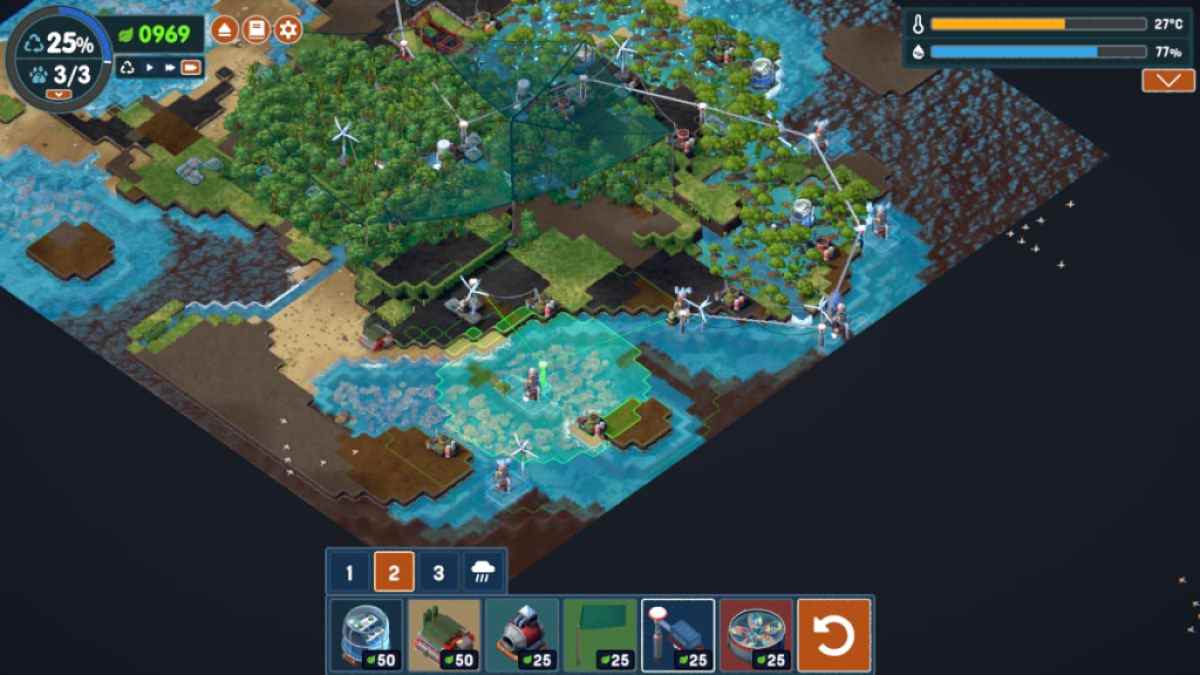
We suggest placing your Dirigible and recycling station relatively close to the center of the map, but you must first allow your network to monorail nodes. Please note that once you have connected your network to the Recycling Station when you send a recycling beacon to a monorail node, it will also recycle the node you send it to. So be sure to work from the outside of your network toward the center.
You also have Recycling Silos to help, and when used, they don’t destroy monorail nodes, which is helpful. The Recycling Beacon also only destroys the Node it is sent to, not others in its range. remember the mineralizer it’s your friend when it comes to placing nodes, as it can add rocks to most locations in the sea to help you move around the map.
To continue with the Terra Nil Walkthrough, please visit the Terra Nil Polar Region Walkthrough and the Terra Nil Continental Region Walkthrough here on MyFullGames.
[ad_2]