Screenshot from MyFullGames
For weeks after the release of Season of the Seraph in Destiny 2, Guardians wondered what the big yellow orbs that had suddenly appeared all over the system were. Turns out they were part of a new exotic quest for the zero revision pulse rifle. There are 50 nodes in the entire system with 12 in the Operation: Seraph’s Shield mission itself. This is where to track and access that last dozen nodes.
Where are the revision zero nodes in Operation: Seraph’s Shield?
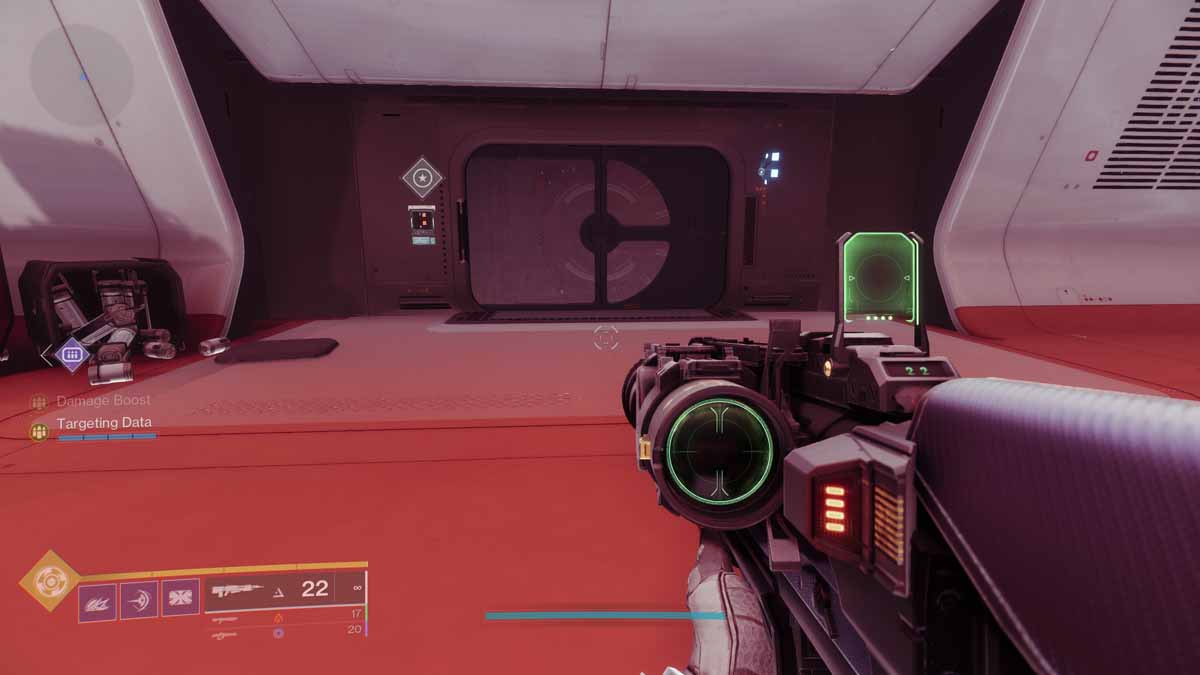
Location 1 (Drone #39)
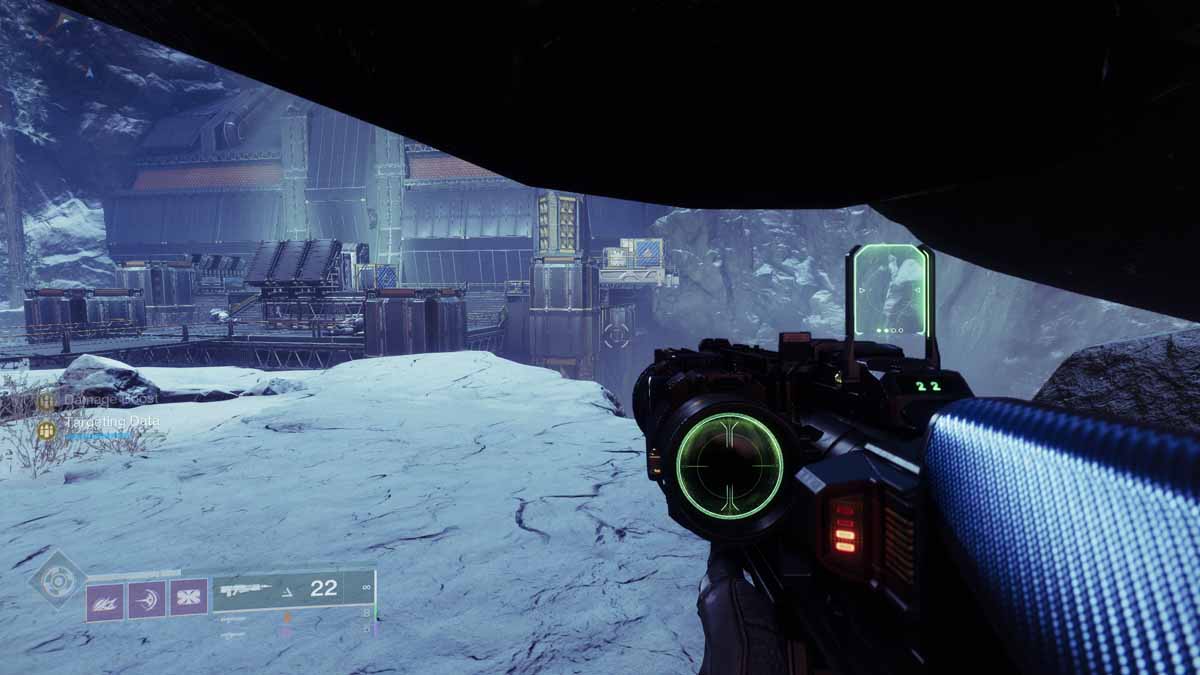
The first security drone is actually before the Guardians enter the base proper. Before entering the base, look to the right and you will see a balcony with some boxes on it. Below this will be a door that Guardians can jump through. Inside will be a terminal puzzle that grants the Temporary Clearance Buff.
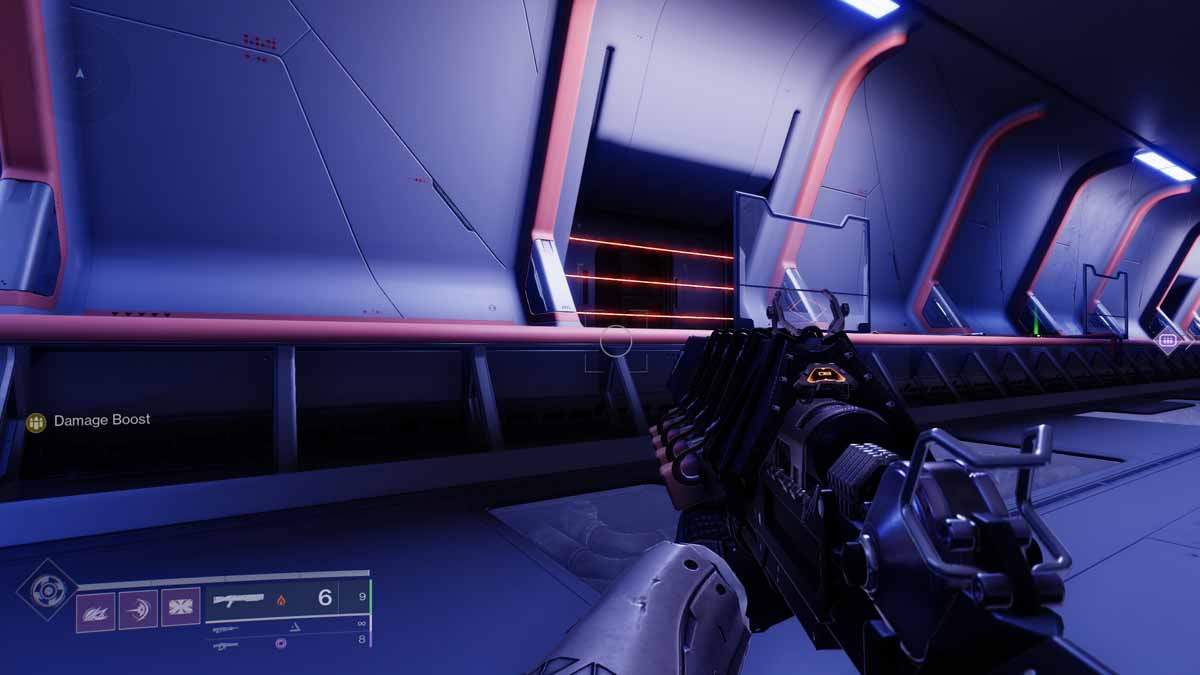
Location 2 (Drone #40)
In the room where the guardians get the second buff from the scanner and must crawl through the first of many vents, is the second security drone. Continue through the ventilation shaft and past the lasers blocking the ancillary room. Turn around and look for the next drone.
Location 3 (Drone #41)

The third drone is in the yellow room where the third scanner perk is located. Instead of jumping onto the balcony and going through the ventilation shaft, use the puzzle in the terminal to open the door below.
Related: Destiny 2 Frenzy Refit (Zero Revision Catalyst), Explained
Location 4 (Drone #42)

Just before entering the room with the laser grid and the floor of death is a multi-level room. Hidden in the corner, under the stairs, behind some glass and containers, is the next node. Jump into the opening on the left to catch the node.
Location 5 (Drone #43)

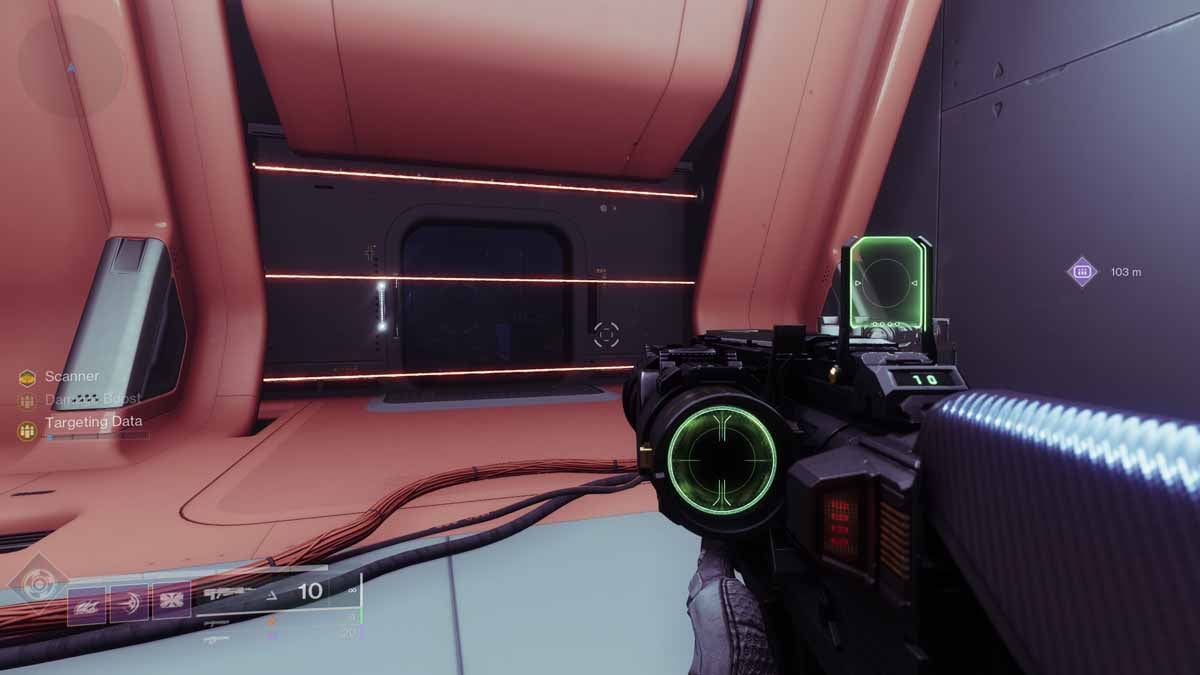
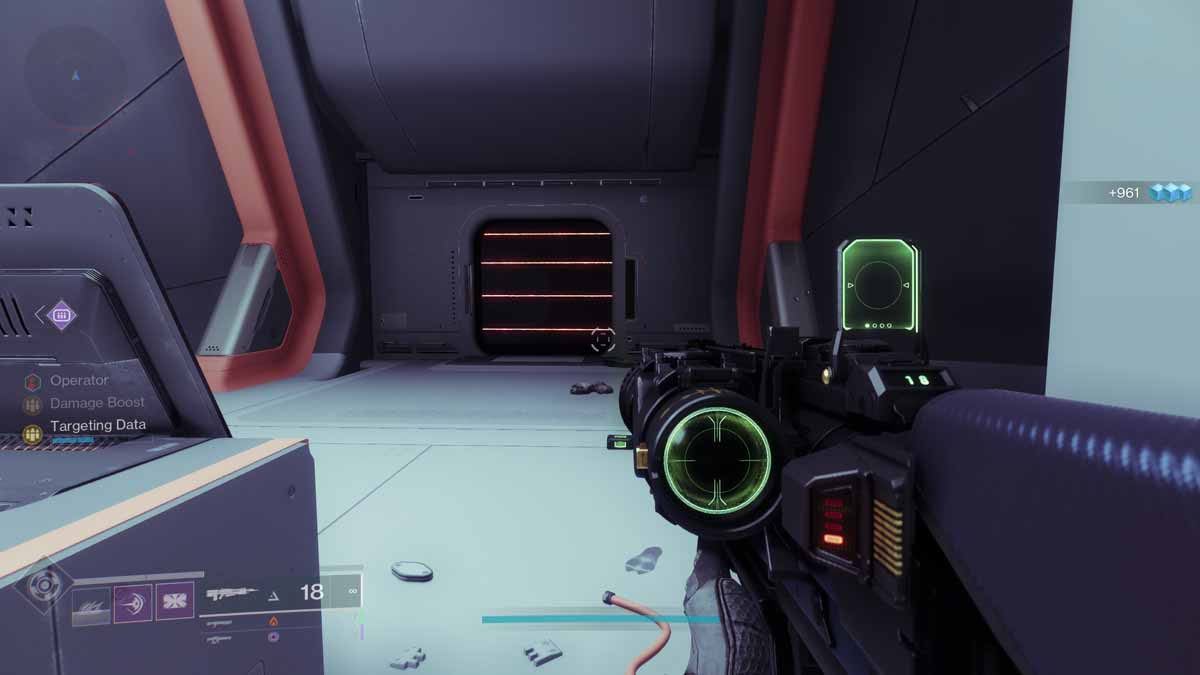
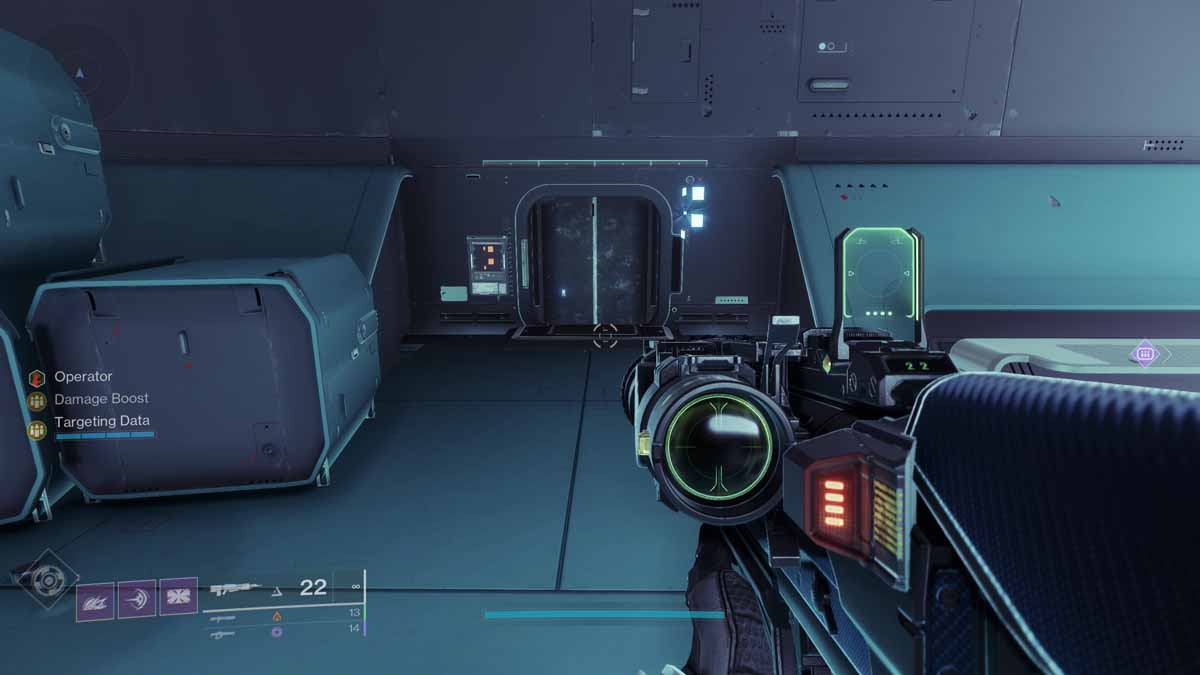
In the room with the first Operator perk is another terminal puzzle door. Open it to catch this security drone.
Location 6 (Drone #44)
In the room with the two Shriekers there will be a laser grid at the back. Head through it and walk around the room in a U shape to find the next drone. Before you leave, be sure to check the other end for a secret chest.
Location 7 (Drone #45)
Before you fight the first boss, there will be a room with a small doggie door that is tied to a terminal puzzle. Complete, work those glutes with a good squat, and head inside for the safety drone.
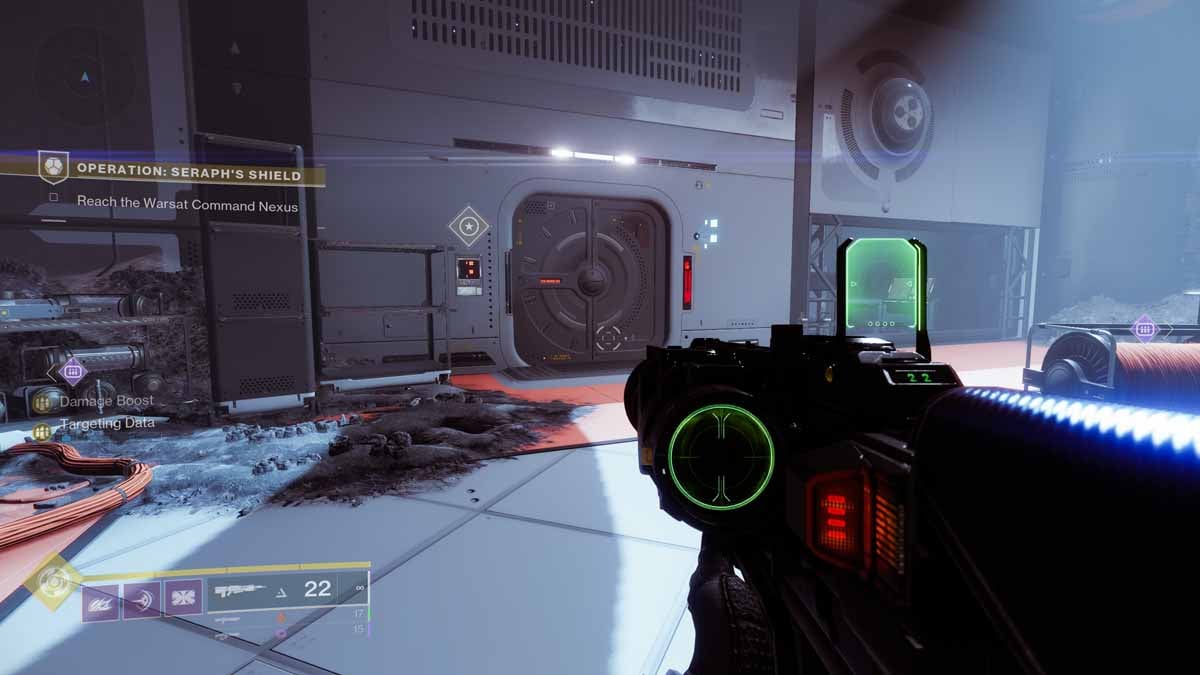
Location 8 (Drone #46)
In the room with the first boss there is a locked door with a terminal puzzle. Take care of it before you fight the boss so you don’t forget it later.
Related: What is the Good Boy Protocol in Destiny 2?
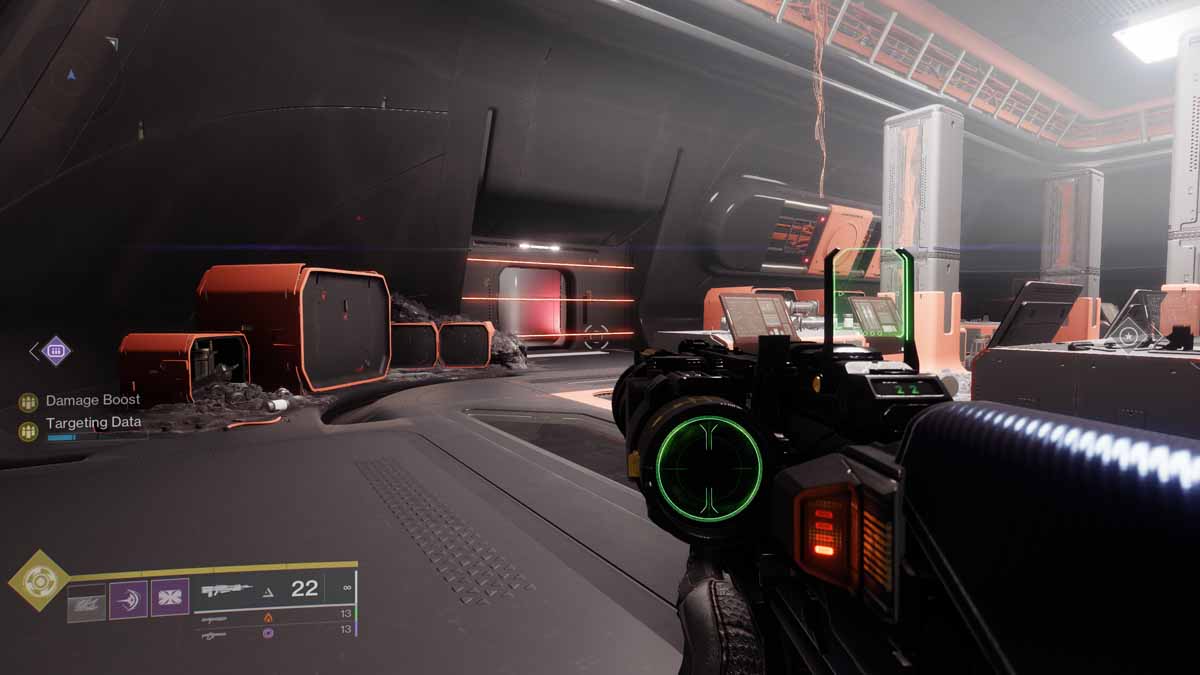
Location 9 (Drone #47)
After completing the spacewalk, there will be a laser grid on the left side of the hangar that the Guardians enter. Continue inside for the next security drone.
Location 10 (Drone #48)
Before the final boss fight, there will be another terminal puzzle. This is the same room where Guardians can plant a rally banner. You know the exercise. Complete the Clovis puzzle to unlock the door and claim your security drone.
Location 11 (Drone #49)

The first of the last two drones is in the room where the Guardians must upload the virus. Complete the terminal puzzle for the penultimate security drone.
Location 12 (Drone #50)
Security drone 50 is directly in front of 49, behind a laser grid. Use your buff, jump excitedly, or pass through with Icarus Dash for the final drone.
For more Destiny 2 news, check out Destiny 2: Zero Review Catalyst Quest Steps in the Pro Gaming Guides.