Screenshot from MyFullGames
In One Piece Odyssey, one of the first ruins you will shamelessly enter with your rubber body is Thunderhead Ruins. Adio will guide you there on a mission to defeat the Thunder Colossus. To reach it, you’ll need to solve some electrifying puzzles. Here’s how to get through the ruins of Thunderhead in One Piece Odyssey.
Thunderhead Ruins walkthrough for One Piece Odyssey
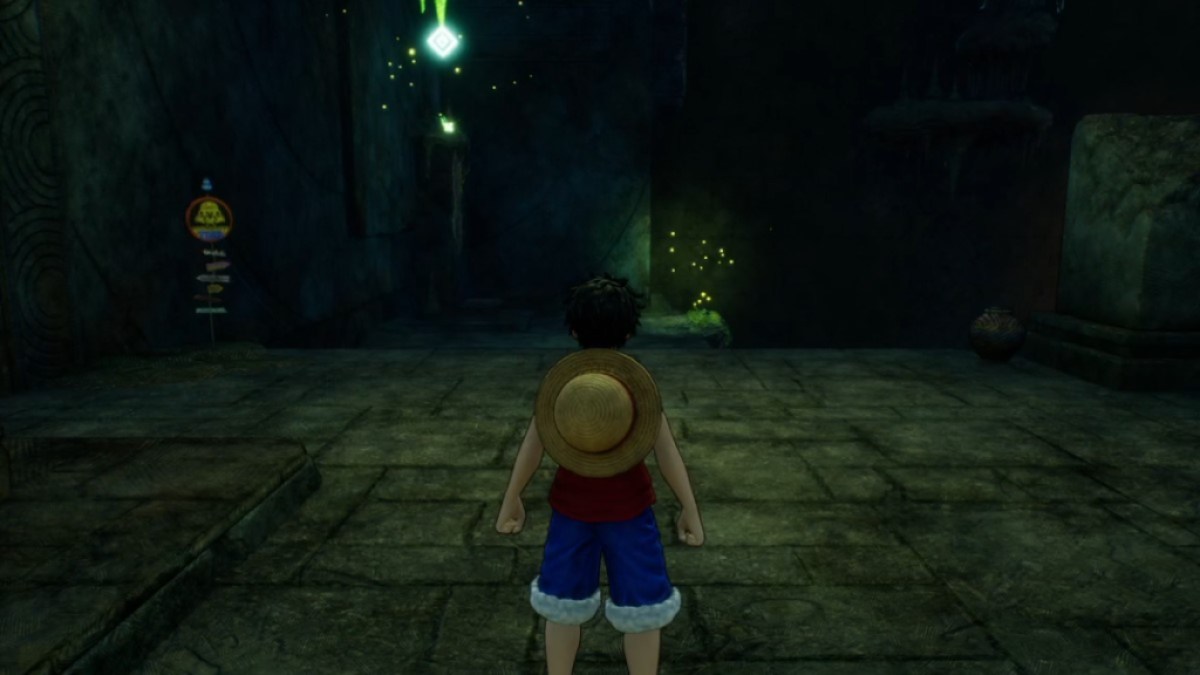
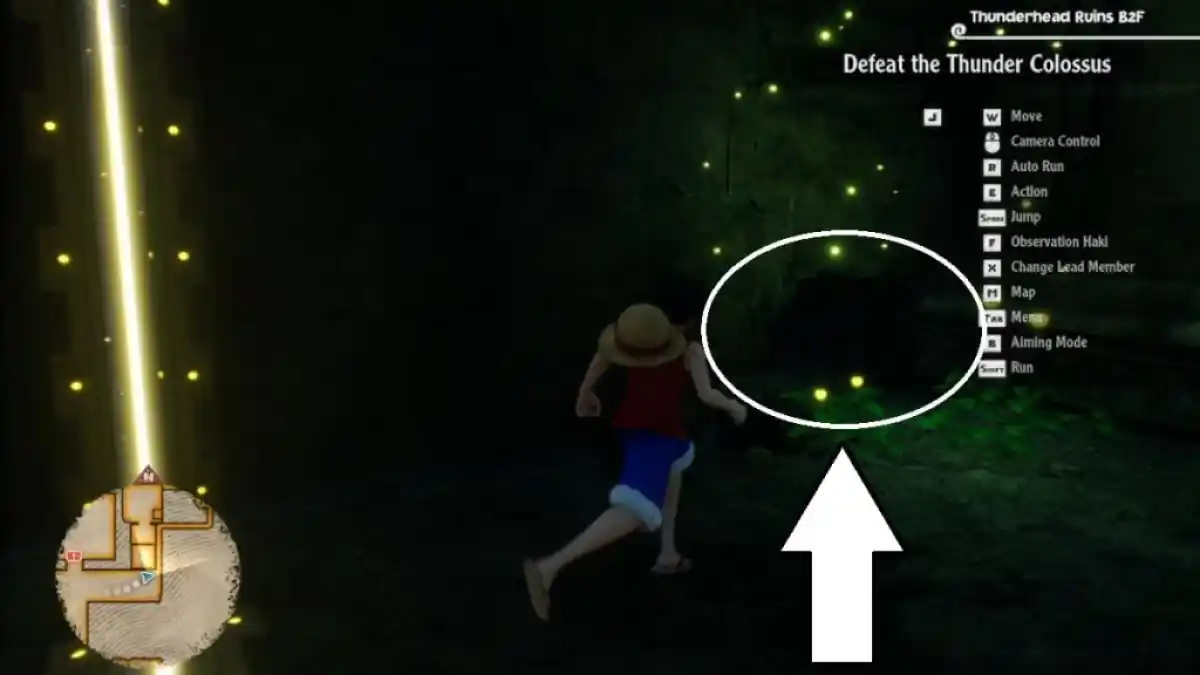
When you first enter the Thunderhead Ruins, you might be surprised to see a small room with a taxi rank to your left, rather than something grander. Your first step is to grab the stalactite in front of you, then descend to the lower level using the vines to your right. If you look up over the creek in front of you, you’ll see another pair of vines that you can grab on to. Gum-gum away, then run down the steps to your right. when you get to the landing below, fight the bat if you want, then go through the archway to find the source of the Thunderhead Ruins puzzles.
How to solve the first Thunderhead Ruins lightning puzzle in One Piece Odyssey
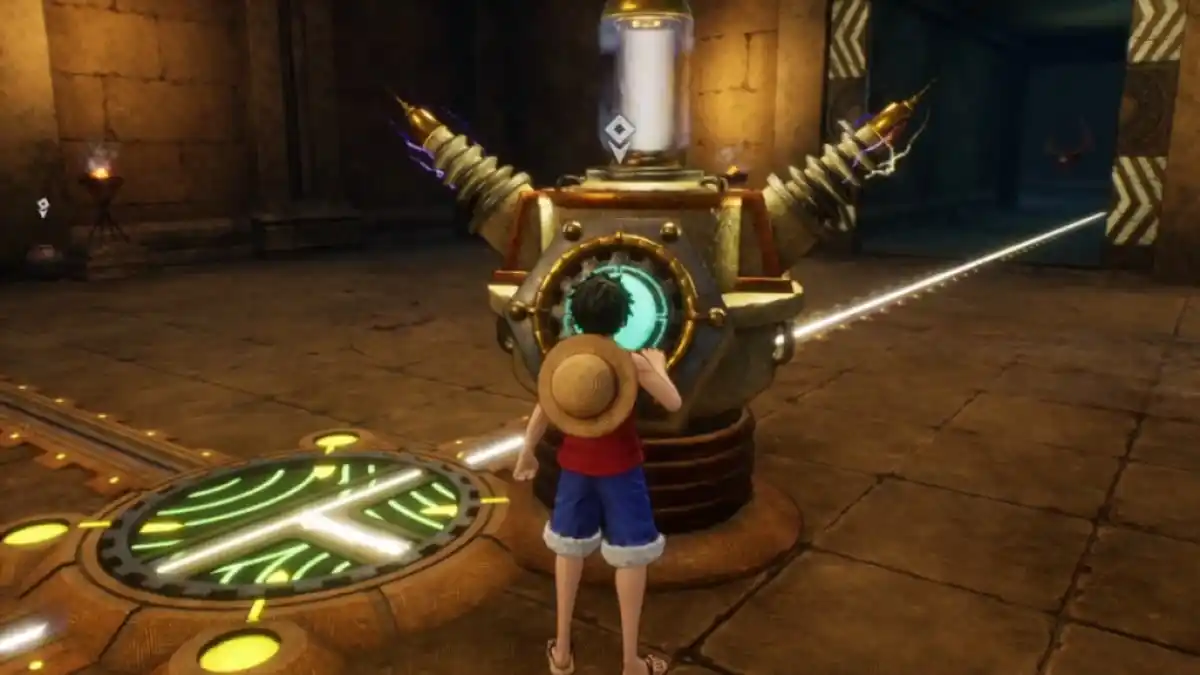
In the Thunderhead Ruins, lightning flows along tracks in the ground from the entrance to the ruins. You’ll need to help keep this power flowing to open the gates to the Thunder Colossus. If you follow the generator tracks at the start of the ruins, you’ll come to your first switch, shown above. When interacted with, the switches will rotate 90 degrees clockwise. Flip this first switch twice to continue.
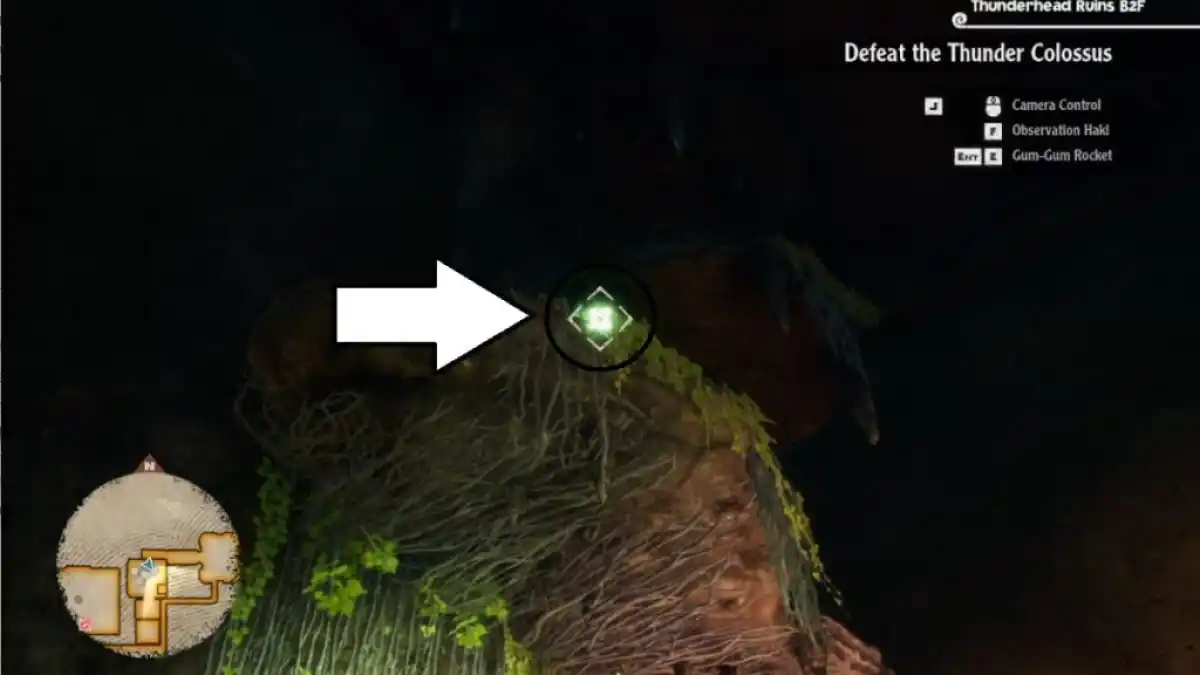
Go through the door on the right first. You’ll find a fragment of Zoro’s cube (to power up your abilities!) and a hole to your left that you can crawl through as Chopper. It will take you to a small platform where you can get a Fire Element Jewelry to your right a treasure chest. You can also use Luffy’s Gum-Gum Rocket ability to grab another bucket fragment from Zoro across the stream in front of you.
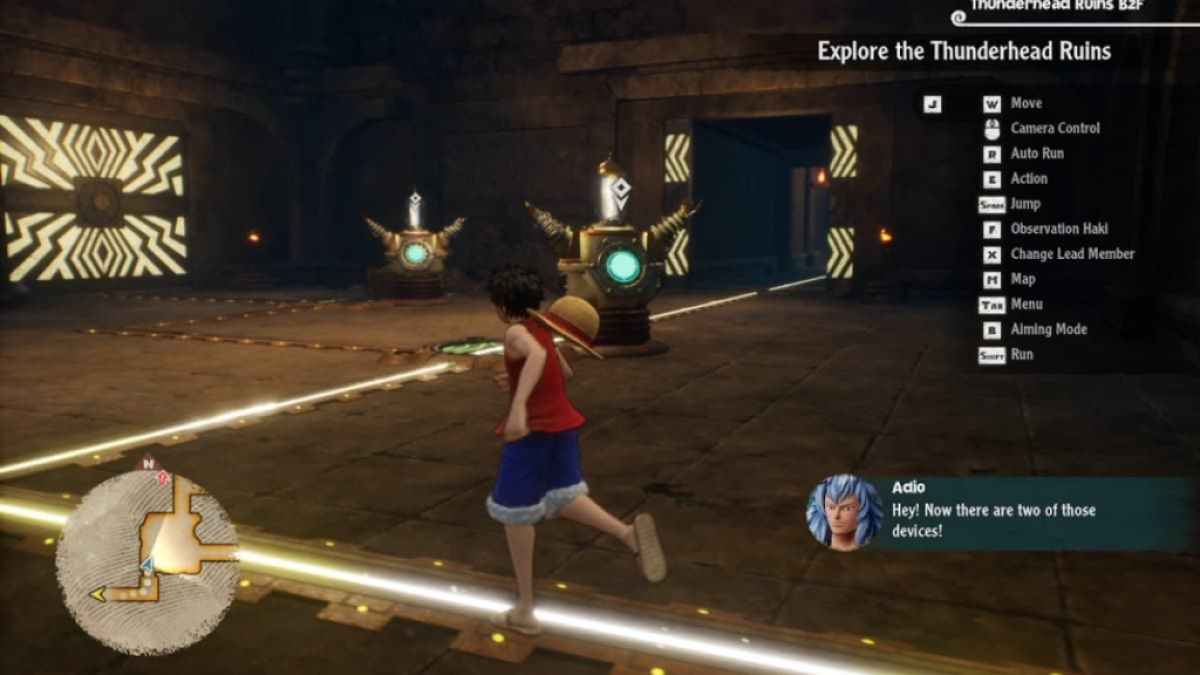
Backtrack to the lighting puzzle switch, then go through the door on your left this time. Follow the lightning track and turn left at the fork. You will reach the second lightning puzzle of Thunderhead Ruins.
Related: How to change party members in One Piece Odyssey
How to solve the second Thunderhead Ruins lightning puzzle in One Piece Odyssey
This second riddle is not as complicated as it seems. You will only need to flip both switches twice for power to flow in the correct directions. Once they are set, go through the door on your right. You will find a Wild Shock Kabuto to fight and a treasure chest with a Attack +87 Badge inside. Backtrack to the second lightning switch puzzle, then go through the door on your left, which leads to the Thunder Colossus.
Before heading to the main chamber, don’t forget to take a detour down the hall to your right. There is a thunder tablet you can withdraw for later. There is also a treasure chest a little further down with a golden jelly food inside. Return to the central chamber with the Thunder Colossus inside when you’re ready.
How to close the Thunder Colossus barrier in One Piece Odyssey
Up to this point, you’ve been helping get the lighting past, but in order to close the barrier around the Thunder Colossus, you’ll need to turn off the four switches around it. To do so, enter the main chamber and head to your left. You can fight the bat in front of you, then open the treasure chest in the corner with a energy apple inside. Then, follow the lightning tracks up the ladder on your right to the platform. You will come to a switch shown above. Flip it twice to keep the doors open, but cut power to the shield.
Go through the door on your left. There is a Zoro Cube Fragment in the back corner of this room for you to grab. Jump up to the platform to your right, then use Gum-Gum Rocket on the stalactite in front of you to reach the lightning tracks again. Follow the track to another switch, which you only need to turn once. There is also a treasure chest in this room that you need to loot with another one. golden jelly food inside.
Related: All One Piece Odyssey costumes and how to get them
After that, head back to the center of the main chamber, this time to the right. You can fight the smiling squirrel in front of you, then head to the back left corner, where there will be a crawl space for Chopper to go through. Follow this path, fighting off some bats on your way until you come to some vines that you can climb onto. Before going up, grab the bucket fragment from Zoro hidden behind the rock on the other side of the bottom of the vines.
Go all the way up to the vines, then to the left before going back down a bit to find a third switch. You will need to flip this switch once to remove power. There is a treasure chest in this room with a excite apple inside. There are also some Chopper and Usopp cube fragments well hidden above you at the top of the vines as shown above.
Follow the still lit lightning track out of this room. There will be a fragment of Sanji’s cube to your right. Then jump through the gap in the railing onto the platform below to your final switch. Flip the switch once to turn it off and you’re ready to take on the Thunder Colossus.
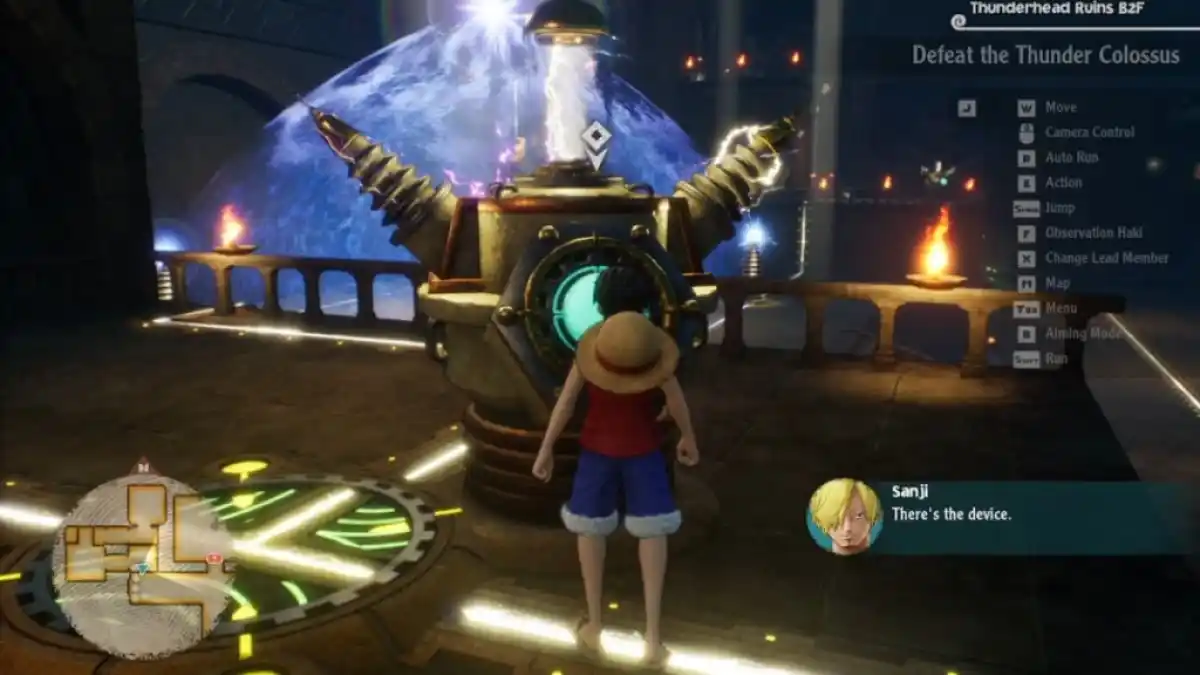
How to defeat the Thunder Colossus in One Piece Odyssey
The Thunder Colossus uses an area of effect attack called Thunder Might Iron King, which will hit all of your party members, dealing significant damage and potentially paralyzing them. You may need to use Chopper’s ability Care (Single) to cure this. The Thunder Colossus is a speed-type enemy, so try to use Power-type characters to gain an advantage when taking it down. You will be given a dramatic scene that challenges you to defeat the thunder colossus with Luffy, so he tries to make sure that he lands the finishing blow.
After defeating the Thunder Colossus, you will be rewarded with more cubes and its core. Then instantly transported outside, ending your quest through the Thunderhead Ruins.
Looking for more help on One Piece Odyssey? Check out How to Auto Fight in One Piece Odyssey here on MyFullGames.